Chapter 5. Installing Knative Eventing
To use event-driven architecture on your cluster, install Knative Eventing. You can create Knative components such as event sources, brokers, and channels and then use them to send events to applications or external systems.
After you install the OpenShift Serverless Operator, you can install Knative Eventing by using the default settings, or configure more advanced settings in the KnativeEventing custom resource (CR). For more information about configuration options for the KnativeEventing CR, see Global configuration.
If you want to use Red Hat OpenShift distributed tracing with OpenShift Serverless, you must install and configure Red Hat OpenShift distributed tracing before you install Knative Eventing.
After you install the OpenShift Serverless Operator, install Knative Eventing by using the OpenShift Container Platform web console. You can install Knative Eventing by using the default settings or configure more advanced settings in the KnativeEventing custom resource (CR).
Prerequisites
- You have cluster administrator permissions on OpenShift Container Platform, or you have cluster or dedicated administrator permissions on Red Hat OpenShift Service on AWS or OpenShift Dedicated.
- You have logged in to the OpenShift Container Platform web console.
- You have installed the OpenShift Serverless Operator.
Procedure
-
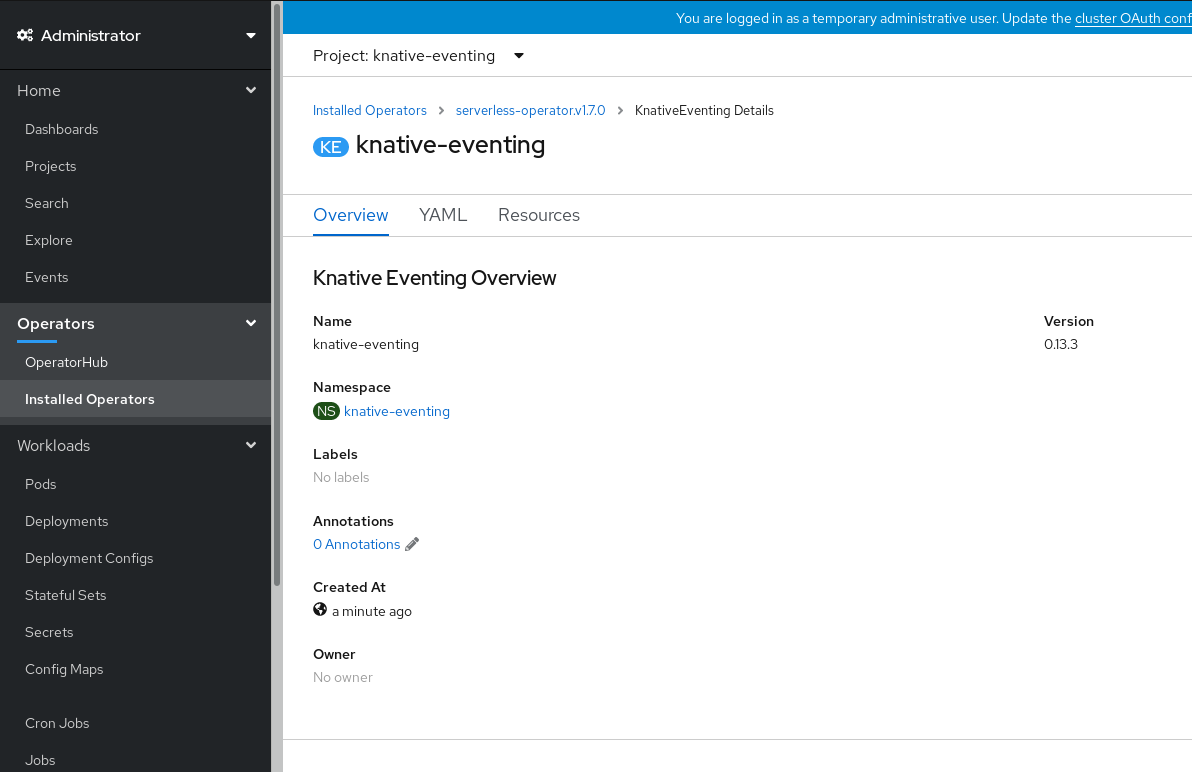
In the Administrator perspective of the OpenShift Container Platform web console, navigate to Operators
Installed Operators. - Check that the Project dropdown at the top of the page is set to Project: knative-eventing.
- Click Knative Eventing in the list of Provided APIs for the OpenShift Serverless Operator to go to the Knative Eventing tab.
- Click Create Knative Eventing.
In the Create Knative Eventing page, you can configure the
KnativeEventingobject by using either the form provided, or by editing the YAML file.-
Use the form for simpler configurations that do not require full control of
KnativeEventingobject creation.
-
Use the form for simpler configurations that do not require full control of
Click Create.
-
Edit the YAML file for more complex configurations that require full control of
KnativeEventingobject creation. To access the YAML editor, click edit YAML on the Create Knative Eventing page.
-
Edit the YAML file for more complex configurations that require full control of
-
After you have installed Knative Eventing, the
KnativeEventingobject is created, and you are automatically directed to the Knative Eventing tab. You will see theknative-eventingcustom resource in the list of resources.
Verification
-
Click on the
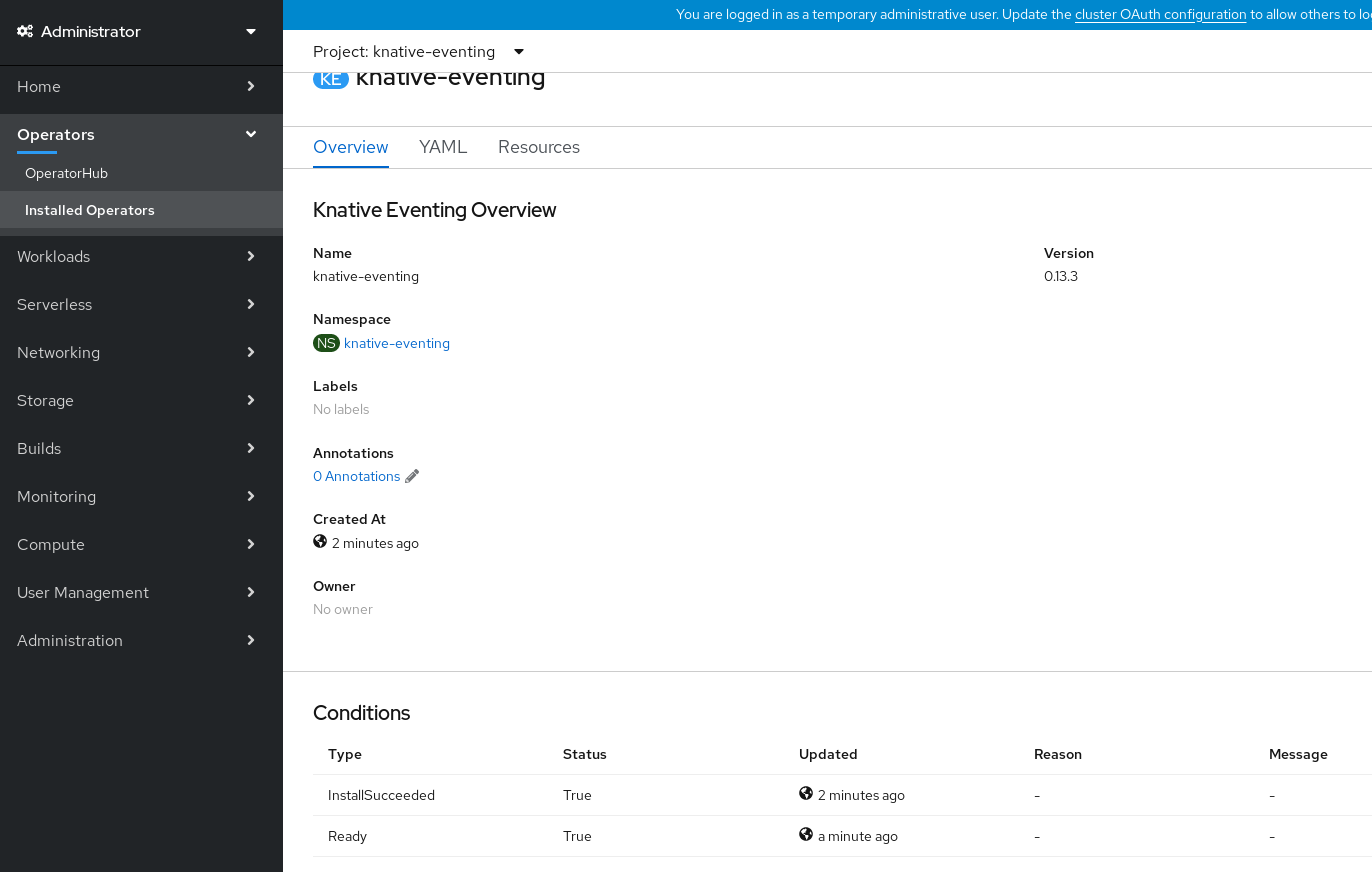
knative-eventingcustom resource in the Knative Eventing tab. You are automatically directed to the Knative Eventing Overview page.
- Scroll down to look at the list of Conditions.
You should see a list of conditions with a status of True, as shown in the example image.
NoteIt may take a few seconds for the Knative Eventing resources to be created. You can check their status in the Resources tab.
- If the conditions have a status of Unknown or False, wait a few moments and then check again after you have confirmed that the resources have been created.
After you install the OpenShift Serverless Operator, you can install Knative Eventing by using the default settings, or configure more advanced settings in the KnativeEventing custom resource (CR). You can use the following procedure to install Knative Eventing by using YAML files and the oc CLI.
Prerequisites
- You have cluster administrator permissions on OpenShift Container Platform, or you have cluster or dedicated administrator permissions on Red Hat OpenShift Service on AWS or OpenShift Dedicated.
- You have installed the OpenShift Serverless Operator.
-
Install the OpenShift CLI (
oc).
Procedure
-
Create a file named
eventing.yaml. Copy the following sample YAML into
eventing.yaml:apiVersion: operator.knative.dev/v1beta1 kind: KnativeEventing metadata: name: knative-eventing namespace: knative-eventing
apiVersion: operator.knative.dev/v1beta1 kind: KnativeEventing metadata: name: knative-eventing namespace: knative-eventingCopyCopied! - Optional. Make any changes to the YAML that you want to implement for your Knative Eventing deployment.
Apply the
eventing.yamlfile by entering:$ oc apply -f eventing.yamloc apply -f eventing.yaml
CopyCopied!
Verification
Verify the installation is complete by entering the following command and observing the output:
$ oc get knativeeventing.operator.knative.dev/knative-eventing \
  -n knative-eventing \
  --template='{{range .status.conditions}}{{printf "%s=%s\n" .type .status}}{{end}}'
oc get knativeeventing.operator.knative.dev/knative-eventing \ -n knative-eventing \ --template='{{range .status.conditions}}{{printf "%s=%s\n" .type .status}}{{end}}'CopyCopied! Example output
InstallSucceeded=True
Ready=True
InstallSucceeded=True
Ready=True
CopyCopied! NoteIt may take a few seconds for the Knative Eventing resources to be created.
-
If the conditions have a status of
UnknownorFalse, wait a few moments and then check again after you have confirmed that the resources have been created. Check that the Knative Eventing resources have been created by entering:
$ oc get pods -n knative-eventingoc get pods -n knative-eventing
CopyCopied! Example output
NAME                                   READY   STATUS    RESTARTS   AGE
broker-controller-58765d9d49-g9zp6     1/1     Running   0          7m21s
eventing-controller-65fdd66b54-jw7bh   1/1     Running   0          7m31s
eventing-webhook-57fd74b5bd-kvhlz      1/1     Running   0          7m31s
imc-controller-5b75d458fc-ptvm2        1/1     Running   0          7m19s
imc-dispatcher-64f6d5fccb-kkc4c        1/1     Running   0          7m18s
CopyCopied!
The Knative broker implementation for Apache Kafka provides integration options for you to use supported versions of the Apache Kafka message streaming platform with OpenShift Serverless. Knative broker for Apache Kafka functionality is available in an OpenShift Serverless installation if you have installed the KnativeKafka custom resource.
Prerequisites
- You have installed the OpenShift Serverless Operator and Knative Eventing on your cluster.
- You have access to a Red Hat AMQ Streams cluster.
-
Install the OpenShift CLI (
oc) if you want to use the verification steps. - You have cluster administrator permissions on OpenShift Container Platform, or you have cluster or dedicated administrator permissions on Red Hat OpenShift Service on AWS or OpenShift Dedicated.
- You are logged in to the OpenShift Container Platform web console.
Procedure
-
In the Administrator perspective, navigate to Operators
Installed Operators. - Check that the Project dropdown at the top of the page is set to Project: knative-eventing.
- In the list of Provided APIs for the OpenShift Serverless Operator, find the Knative Kafka box and click Create Instance.
Configure the KnativeKafka object in the Create Knative Kafka page.
ImportantTo use the Kafka channel, source, broker, or sink on your cluster, you must toggle the enabled switch for the options you want to use to true. These switches are set to false by default. Additionally, to use the Kafka channel, broker, or sink you must specify the bootstrap servers.
- Use the form for simpler configurations that do not require full control of KnativeKafka object creation.
Edit the YAML for more complex configurations that require full control of KnativeKafka object creation. You can access the YAML by clicking the Edit YAML link on the Create Knative Kafka page.
Example
KnativeKafkacustom resourceapiVersion: operator.serverless.openshift.io/v1alpha1 kind: KnativeKafka metadata: name: knative-kafka namespace: knative-eventing spec: channel: enabled: true 1 bootstrapServers: <bootstrap_servers> 2 source: enabled: true 3 broker: enabled: true 4 defaultConfig: bootstrapServers: <bootstrap_servers> 5 numPartitions: <num_partitions> 6 replicationFactor: <replication_factor> 7 sink: enabled: true 8 logging: level: INFO 9
apiVersion: operator.serverless.openshift.io/v1alpha1 kind: KnativeKafka metadata: name: knative-kafka namespace: knative-eventing spec: channel: enabled: true bootstrapServers: <bootstrap_servers> source: enabled: true broker: enabled: true defaultConfig: bootstrapServers: <bootstrap_servers> numPartitions: <num_partitions> replicationFactor: <replication_factor> sink: enabled: true logging: level: INFOCopyCopied! - 1
- Enables developers to use the
KafkaChannelchannel type in the cluster. - 2
- A comma-separated list of bootstrap servers from your AMQ Streams cluster.
- 3
- Enables developers to use the
KafkaSourceevent source type in the cluster. - 4
- Enables developers to use the Knative broker implementation for Apache Kafka in the cluster.
- 5
- A comma-separated list of bootstrap servers from your Red Hat AMQ Streams cluster.
- 6
- Defines the number of partitions of the Kafka topics, backed by the
Brokerobjects. The default is10. - 7
- Defines the replication factor of the Kafka topics, backed by the
Brokerobjects. The default is3. ThereplicationFactorvalue must be less than or equal to the number of nodes of your Red Hat AMQ Streams cluster. - 8
- Enables developers to use a Kafka sink in the cluster.
- 9
- Defines the log level of the Kafka data plane. Allowed values are
TRACE,DEBUG,INFO,WARNandERROR. The default value isINFO.
WarningDo not use
DEBUGorTRACEas the logging level in production environments. The outputs from these logging levels are verbose and can degrade performance.
- Click Create after you have completed any of the optional configurations for Kafka. You are automatically directed to the Knative Kafka tab where knative-kafka is in the list of resources.
Verification
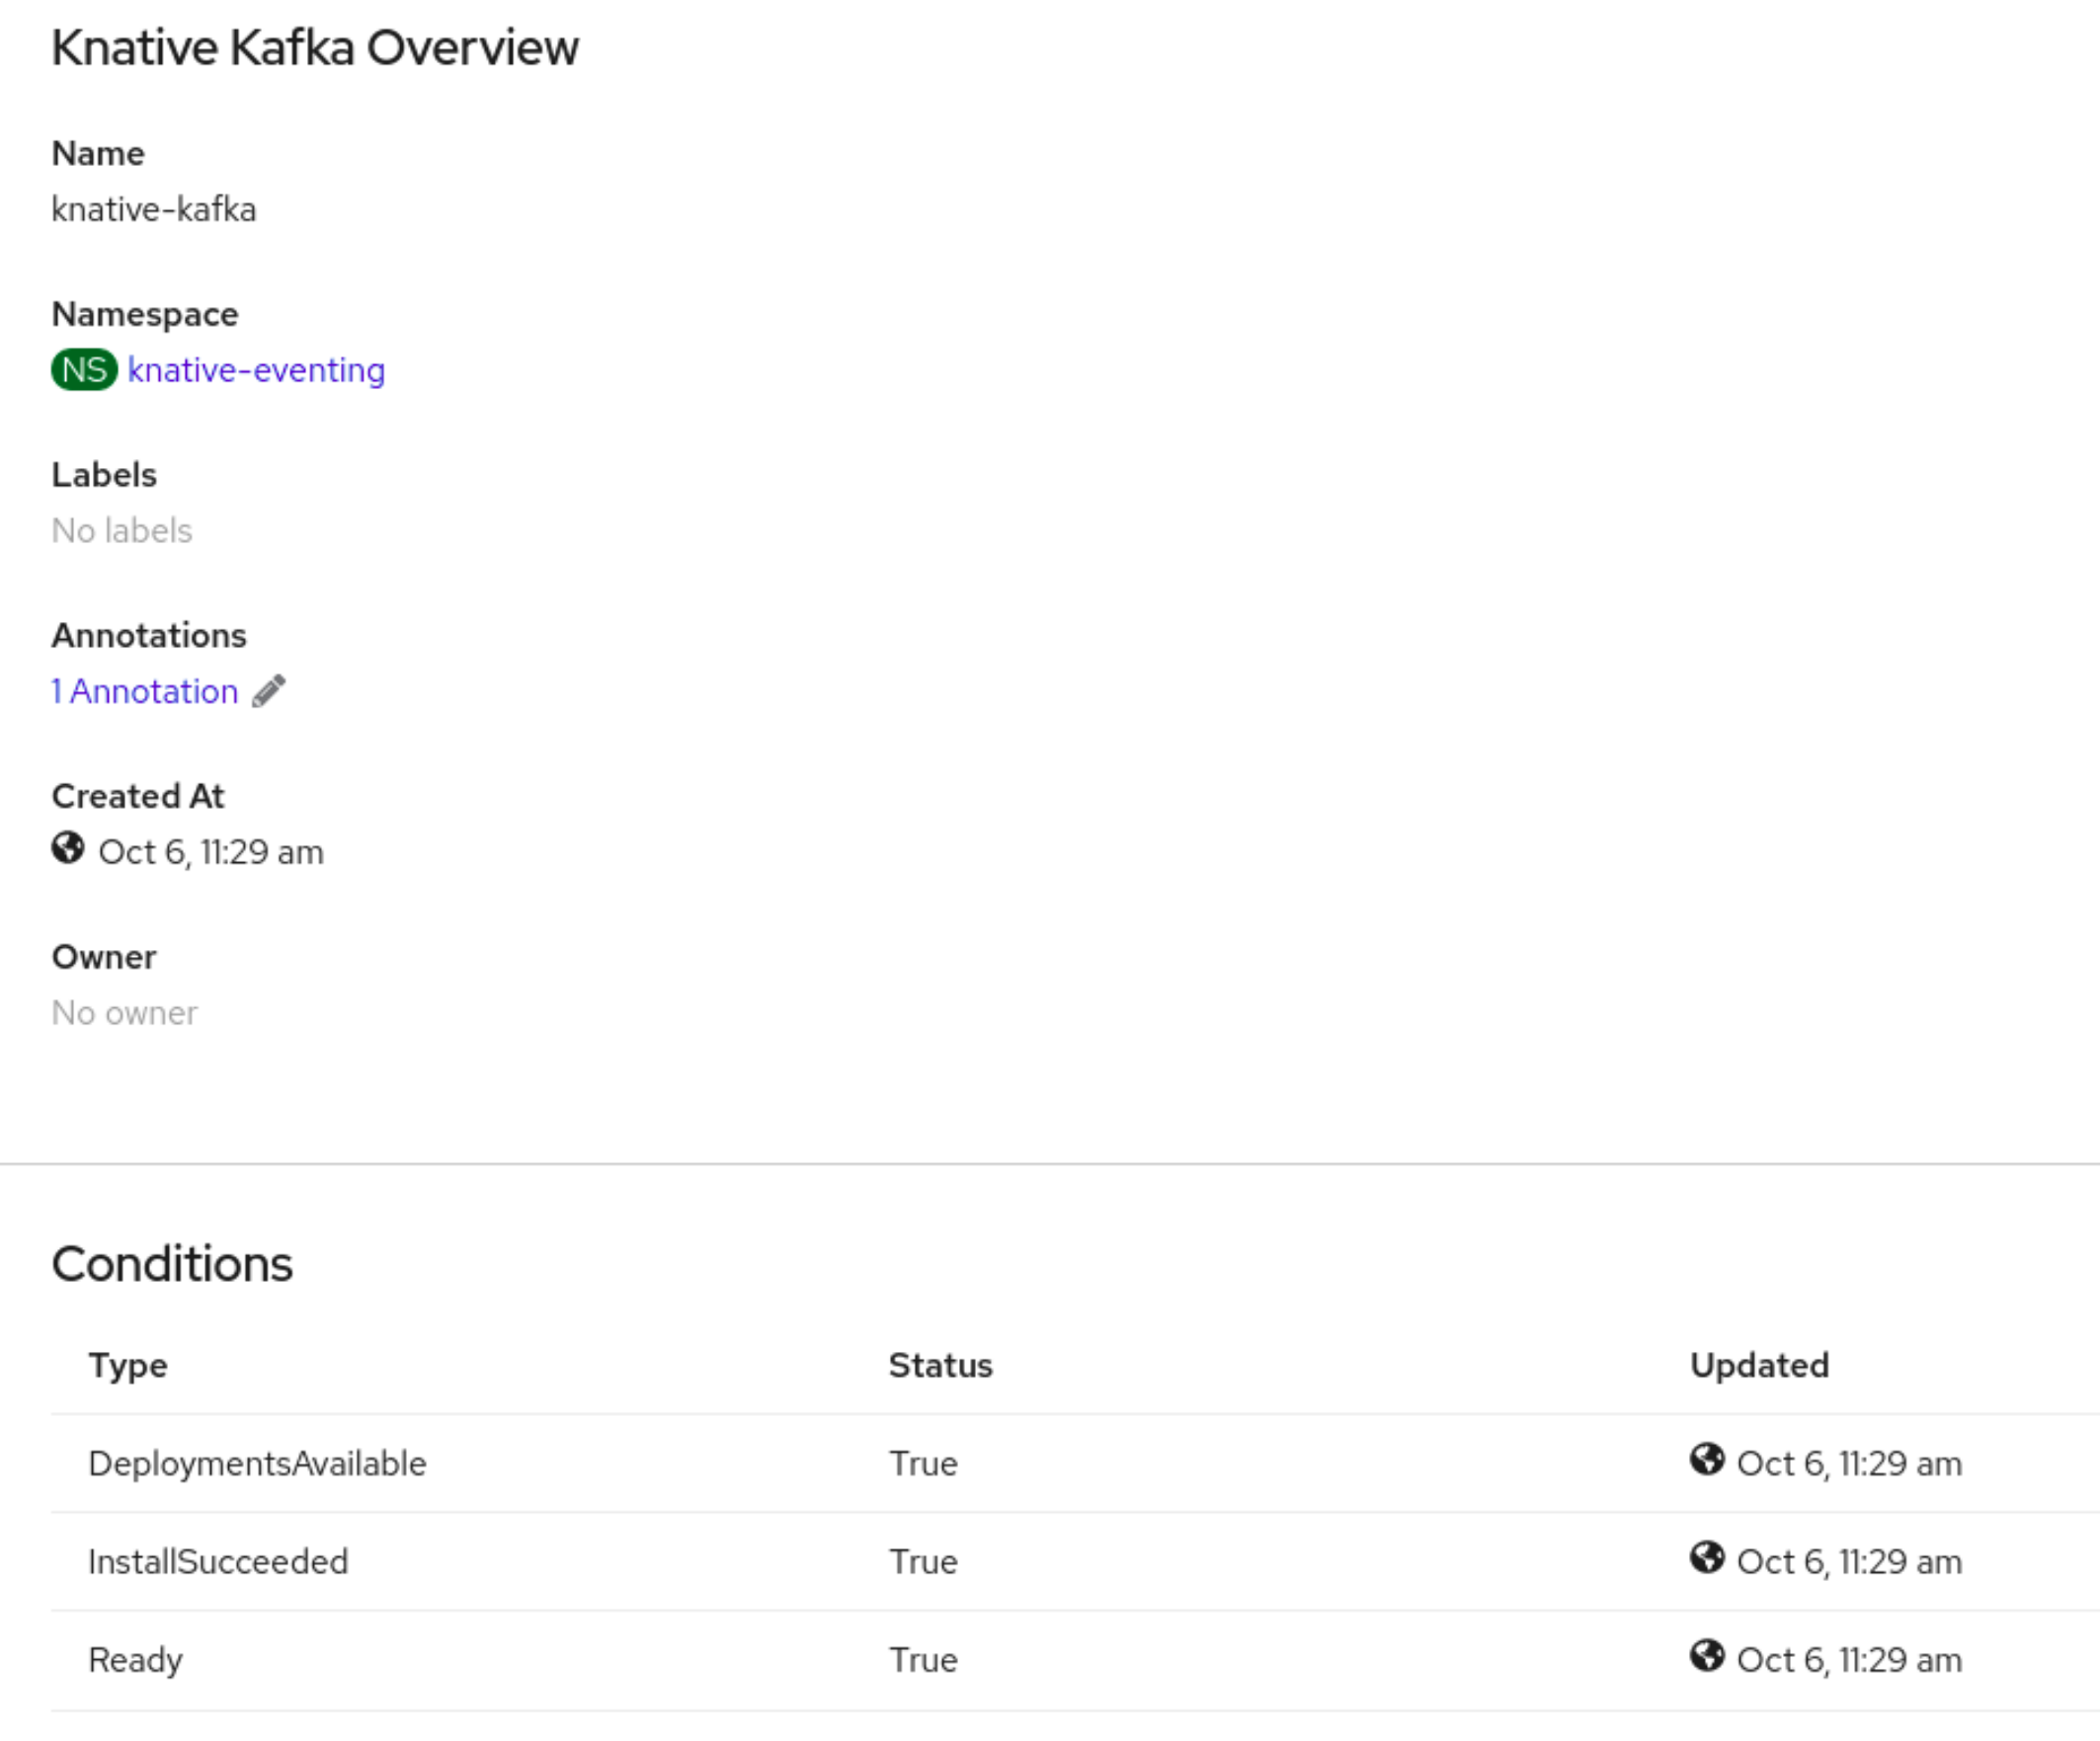
- Click on the knative-kafka resource in the Knative Kafka tab. You are automatically directed to the Knative Kafka Overview page.
View the list of Conditions for the resource and confirm that they have a status of True.
If the conditions have a status of Unknown or False, wait a few moments to refresh the page.
Check that the Knative broker for Apache Kafka resources have been created:
$ oc get pods -n knative-eventingoc get pods -n knative-eventing
CopyCopied! Example output
NAME                                        READY   STATUS    RESTARTS   AGE
kafka-broker-dispatcher-7769fbbcbb-xgffn    2/2     Running   0          44s
kafka-broker-receiver-5fb56f7656-fhq8d      2/2     Running   0          44s
kafka-channel-dispatcher-84fd6cb7f9-k2tjv   2/2     Running   0          44s
kafka-channel-receiver-9b7f795d5-c76xr      2/2     Running   0          44s
kafka-controller-6f95659bf6-trd6r           2/2     Running   0          44s
kafka-source-dispatcher-6bf98bdfff-8bcsn    2/2     Running   0          44s
kafka-webhook-eventing-68dc95d54b-825xs     2/2     Running   0          44s
CopyCopied!
5.4. Next steps
- Learn more about how to use Knative event-driven architecture in Knative Eventing.
- If you want to use Knative Eventing with Apache Kafka, see Configuring Knative broker for Apache Kafka.
- If you want to use Knative services, see Installing Knative Serving and then start Creating serverless applications.